For this workshop, you’ll need:
- Cerebras API: the fastest inference provider, get started for free here
- LangGraph: for orchestrating multi-agent workflows
- LangSmith: for tracing and evaluating agents, free signup here
Step 1: Environment Setup
First, let’s install all the necessary libraries, import everything we need, and configure our API credentials.Step 2: Set Up Our LLM
These functions sends prompts to gpt-oss-120b running on Cerebras and return clean, direct responses. It will serve as our core communication layer throughout the research process - from generating interview questions to creating participant personas to analyzing simulated responses.Step 3: Define State
Today, we’ll be using LangGraph to orchestrate our multi-agent research workflow. LangGraph uses state to coordinate between different nodes, acting as shared memory where each specialized agent can store and access information throughout the process. We start by defining data classes we will use and a TypedDict that specifies exactly what data our workflow needs to track - from the initial research question all the way through to the final synthesized insights.Step 4: Define Core Node Functions
Next, we’ll build the core nodes that handle each part of our research process. Each node is a specialized agent that performs one specific task and updates the shared state for other nodes to use. In this step, we’ll create four main nodes:- Configuration node: gets research question from the user
- Persona generation node: creates synthetic users
- Interview node: conducts our interviews
- Synthesis node: analyzes and present results
Step 4: Interview Router
This router function determines the next step of our workflow. It decides whether to continue interviewing the current persona, move to the next persona, or end the process and synthesize results. The router checks our current progress and directs the workflow accordingly - this is what makes LangGraph powerful for complex multi-step processes.Step 5: Build LangGraph Workflow
Now we’ll connect all our nodes into a complete workflow using LangGraph. This creates a multi-agent system where each node specializes in one task, and the router intelligently manages the flow between them. The workflow follows this path: Configuration → Persona Generation → Interview Loop → SynthesisStep 6: Run the Complete System
This is the main function that executes our entire LangGraph workflow. It initializes the state, runs the multi-agent system, and delivers comprehensive user research insights. The workflow automatically handles the complex orchestration between configuration, persona generation, interviews, and synthesis.Tracing and Evaluation
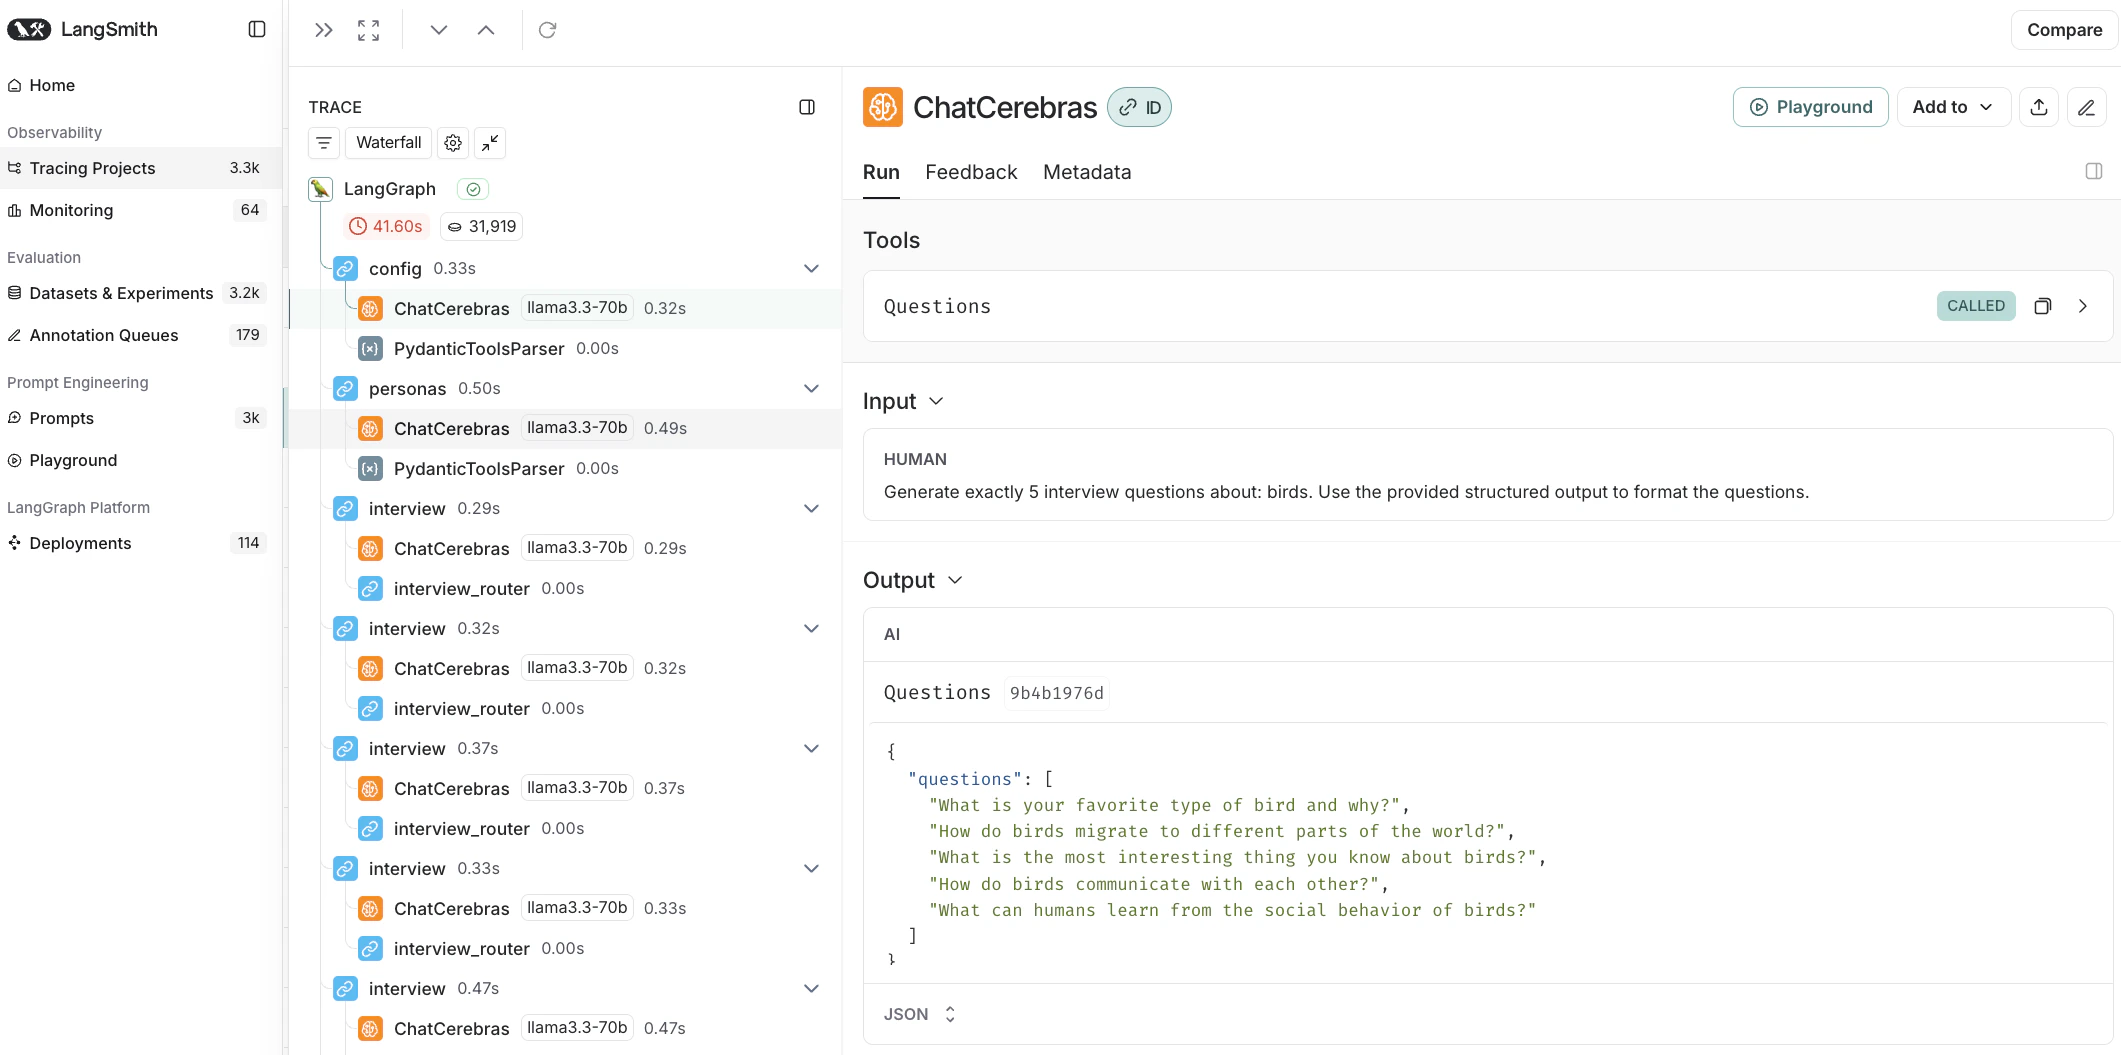
LangSmith is a platform for tracing, monitoring and evaluating your LLM applications. It is very handy when developing applications. It gives you visibility into the flow of data to and from models and nodes of your graph. The instructions here will help you get started: Getting Started with LangSmith